

How I Created a Custom Penny Tile Bathroom Floor
When people see our bathroom for the first time, they almost always react the same way.
They stop.
Look down.
And then they smile.
Because staring back at them is a custom penny tile floor that boldly says:
DO IT SCARED.
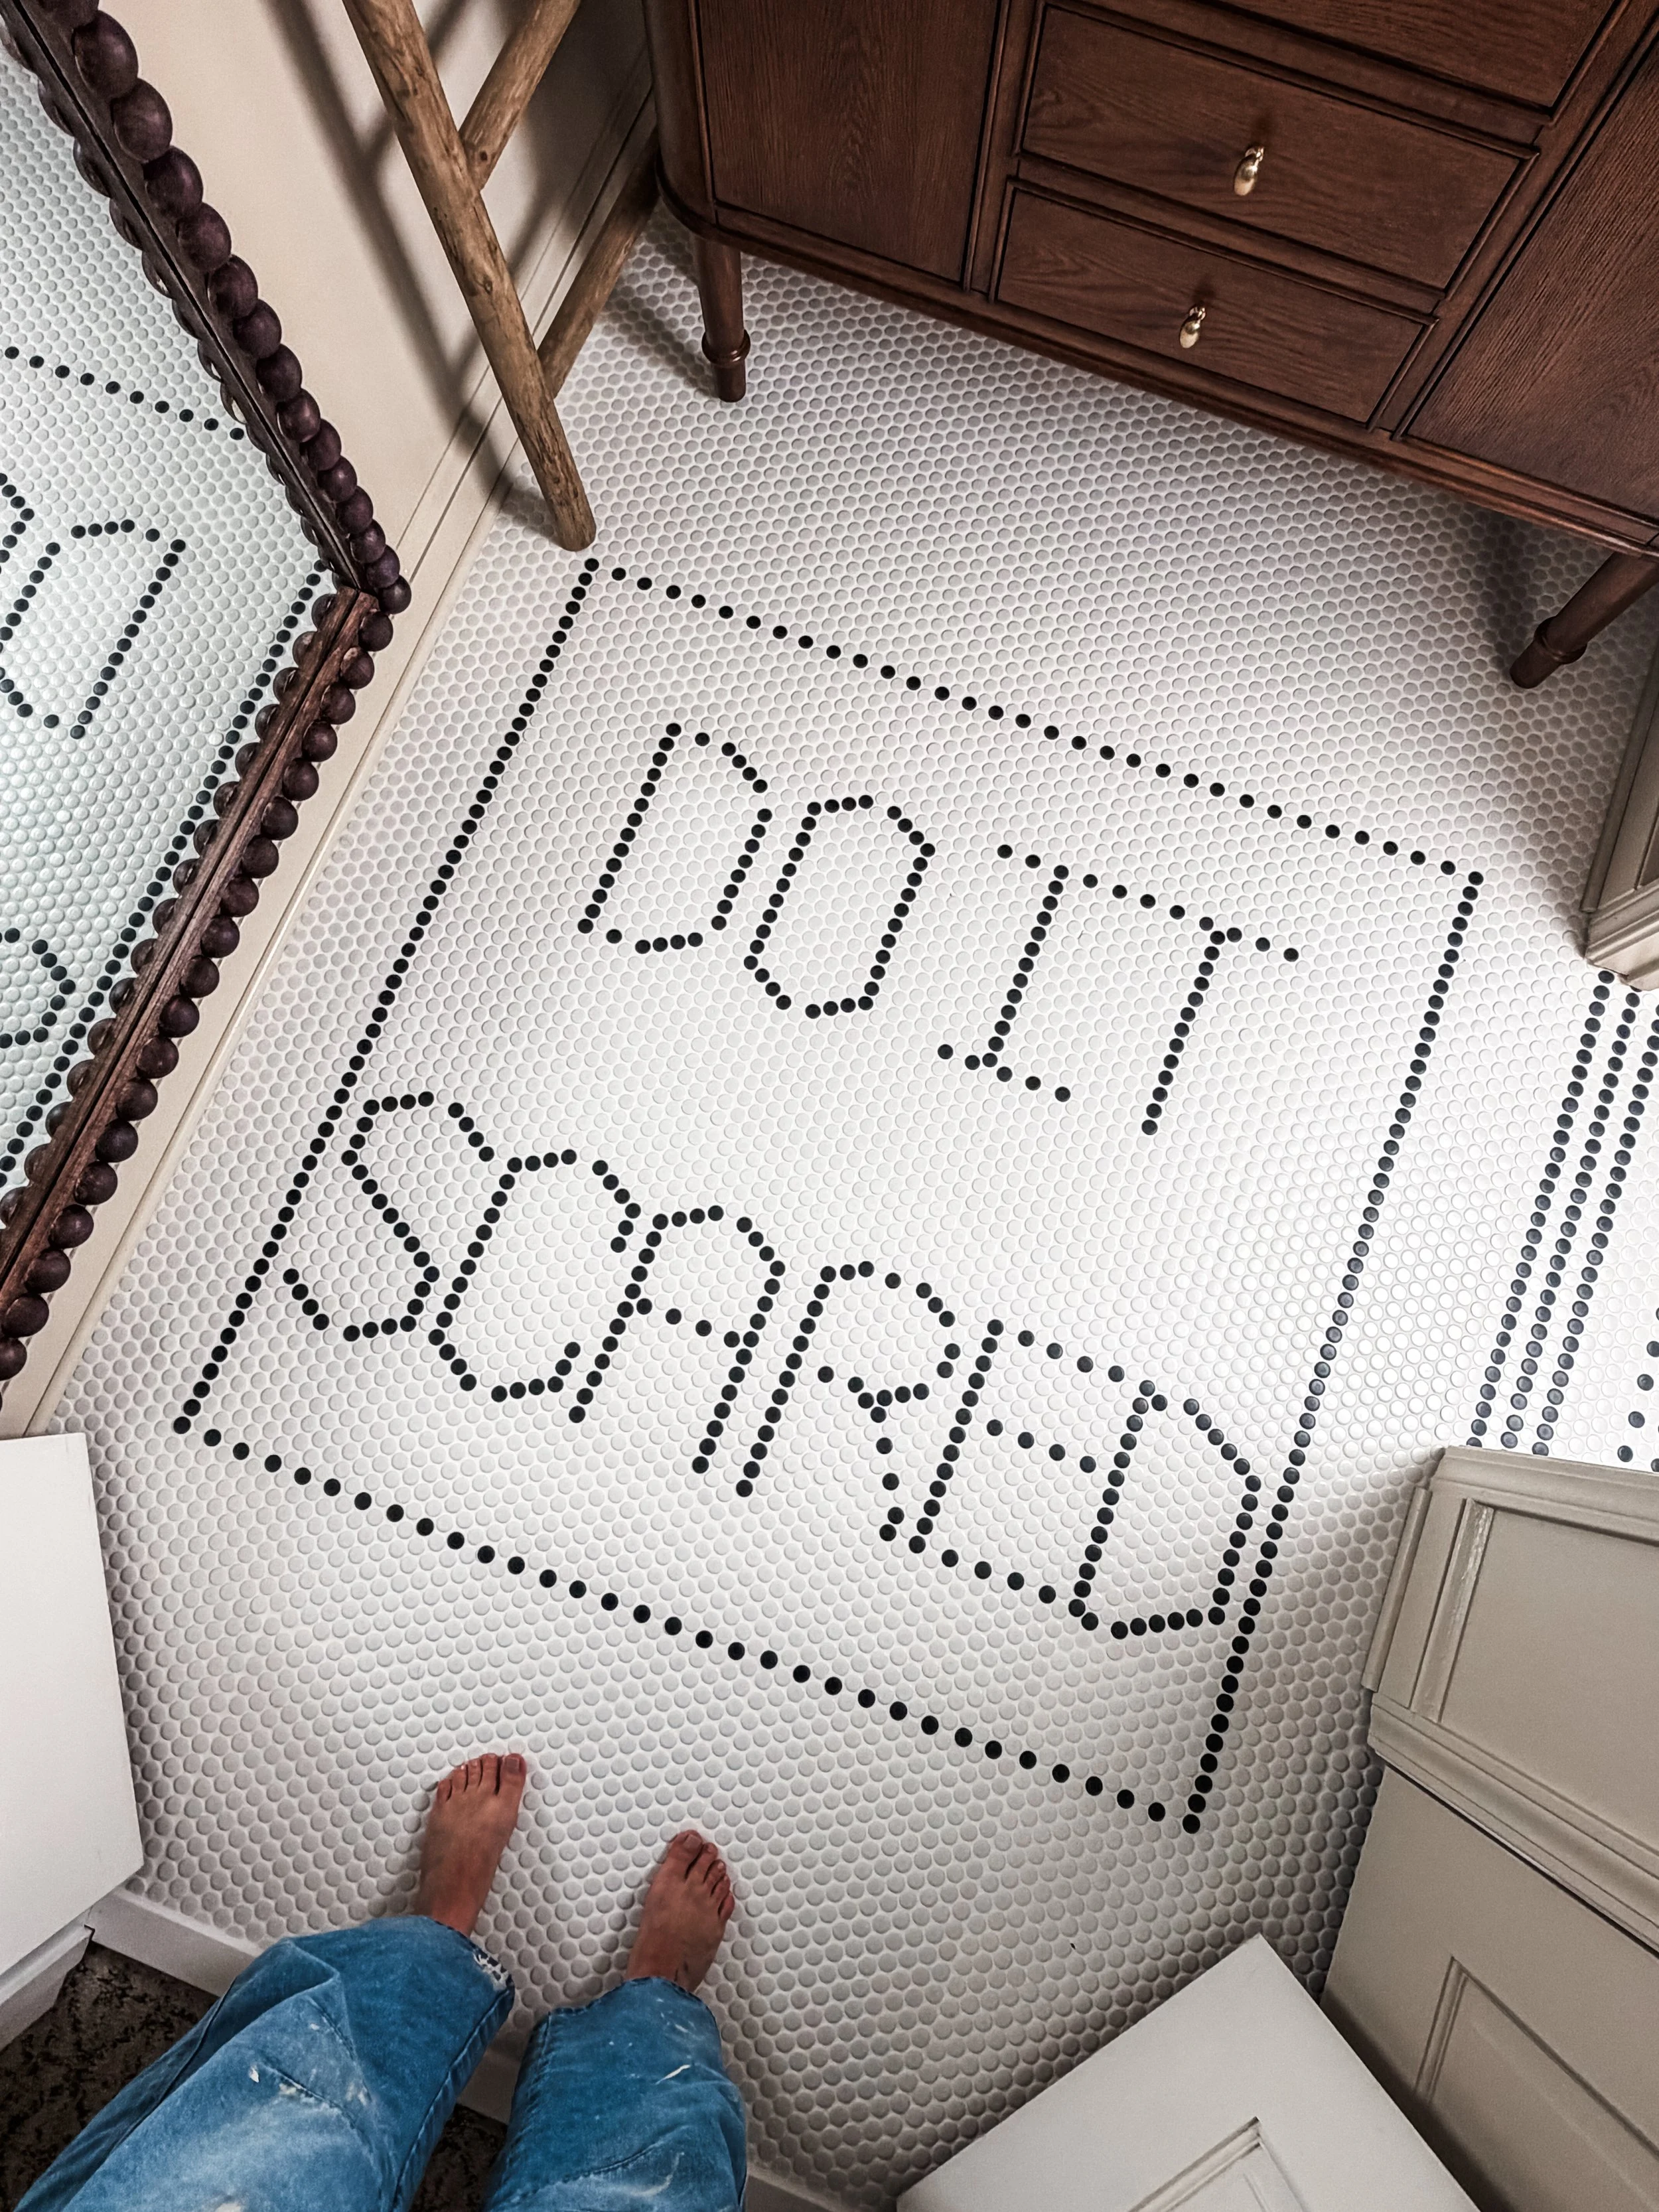
The finished product!
Every single day, that message reminds me that the best projects, and sometimes the best parts of life, begin long before you feel ready.
This was my first time ever installing tile flooring and, although it was tedious, it was honestly not hard at all and here’s why. . .
Why I Chose Penny Tile
I've always loved penny tile because it's timeless. It works beautifully in both historic and modern homes, adds incredible texture, and never seems to go out of style. But what really sold me was how customizable it is.
Instead of installing a traditional white penny tile floor, I wanted to create something that felt personal to our family and reflected the heart behind this renovation.
Designing the Floor
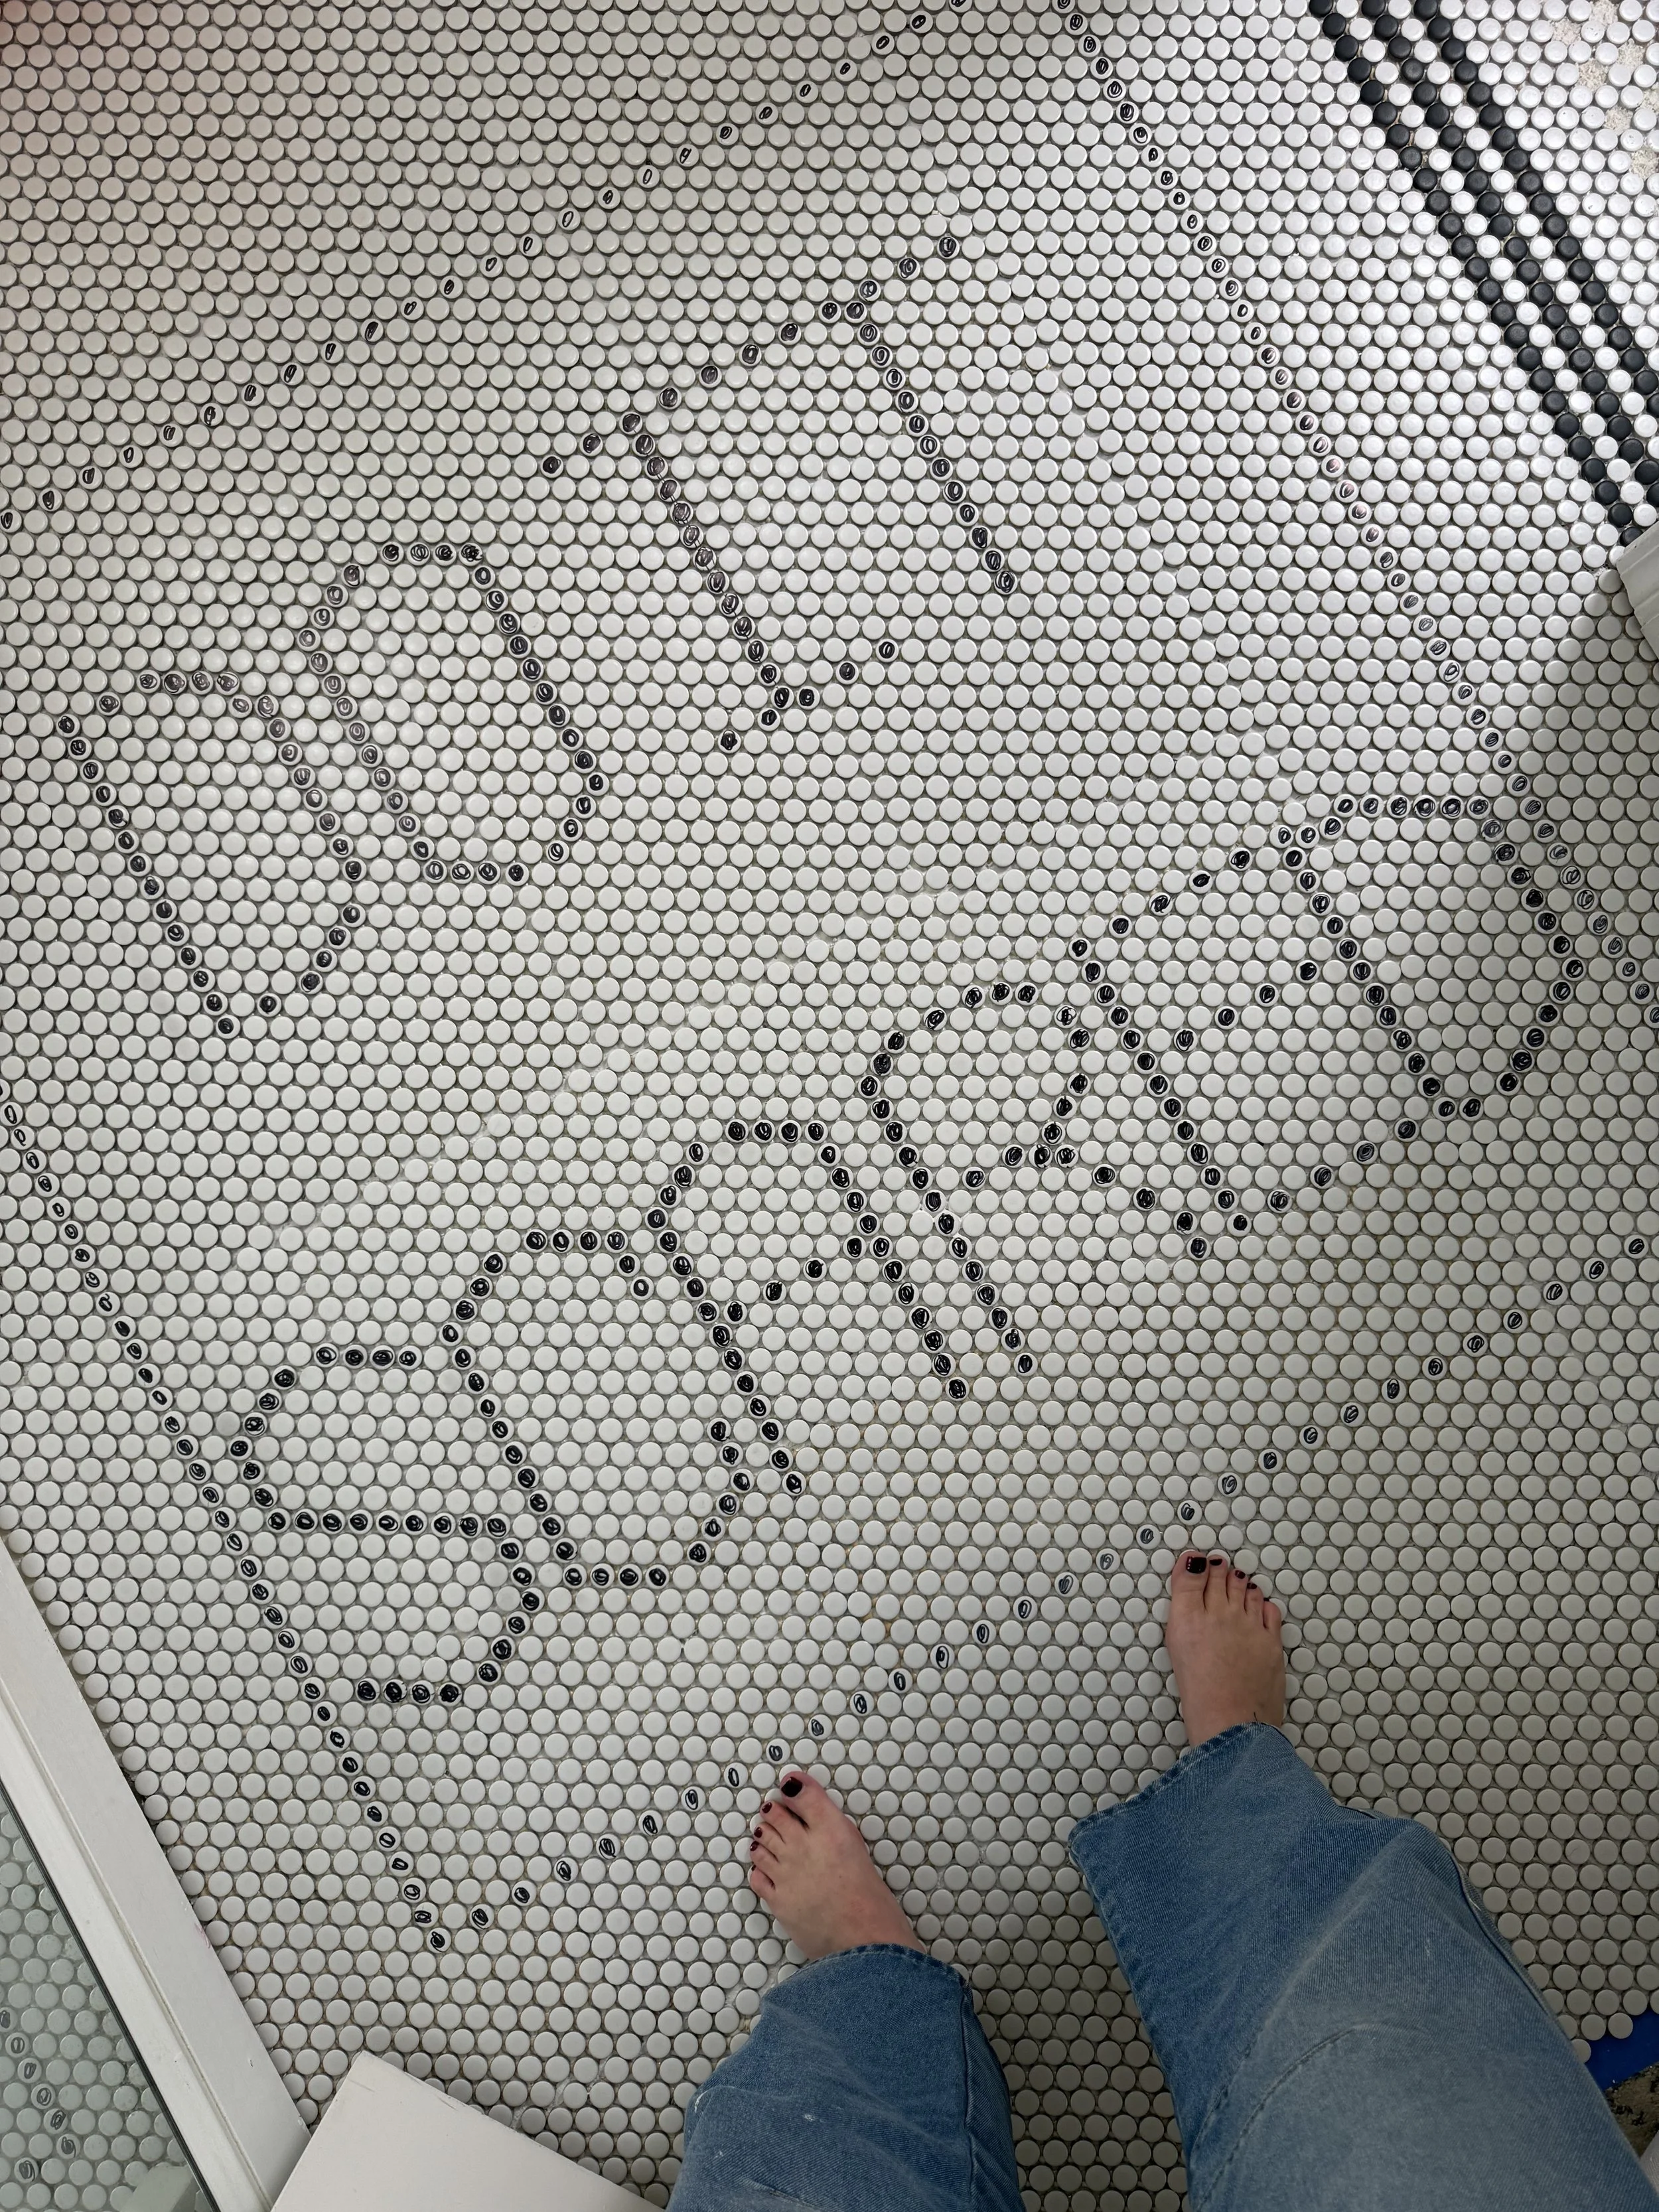
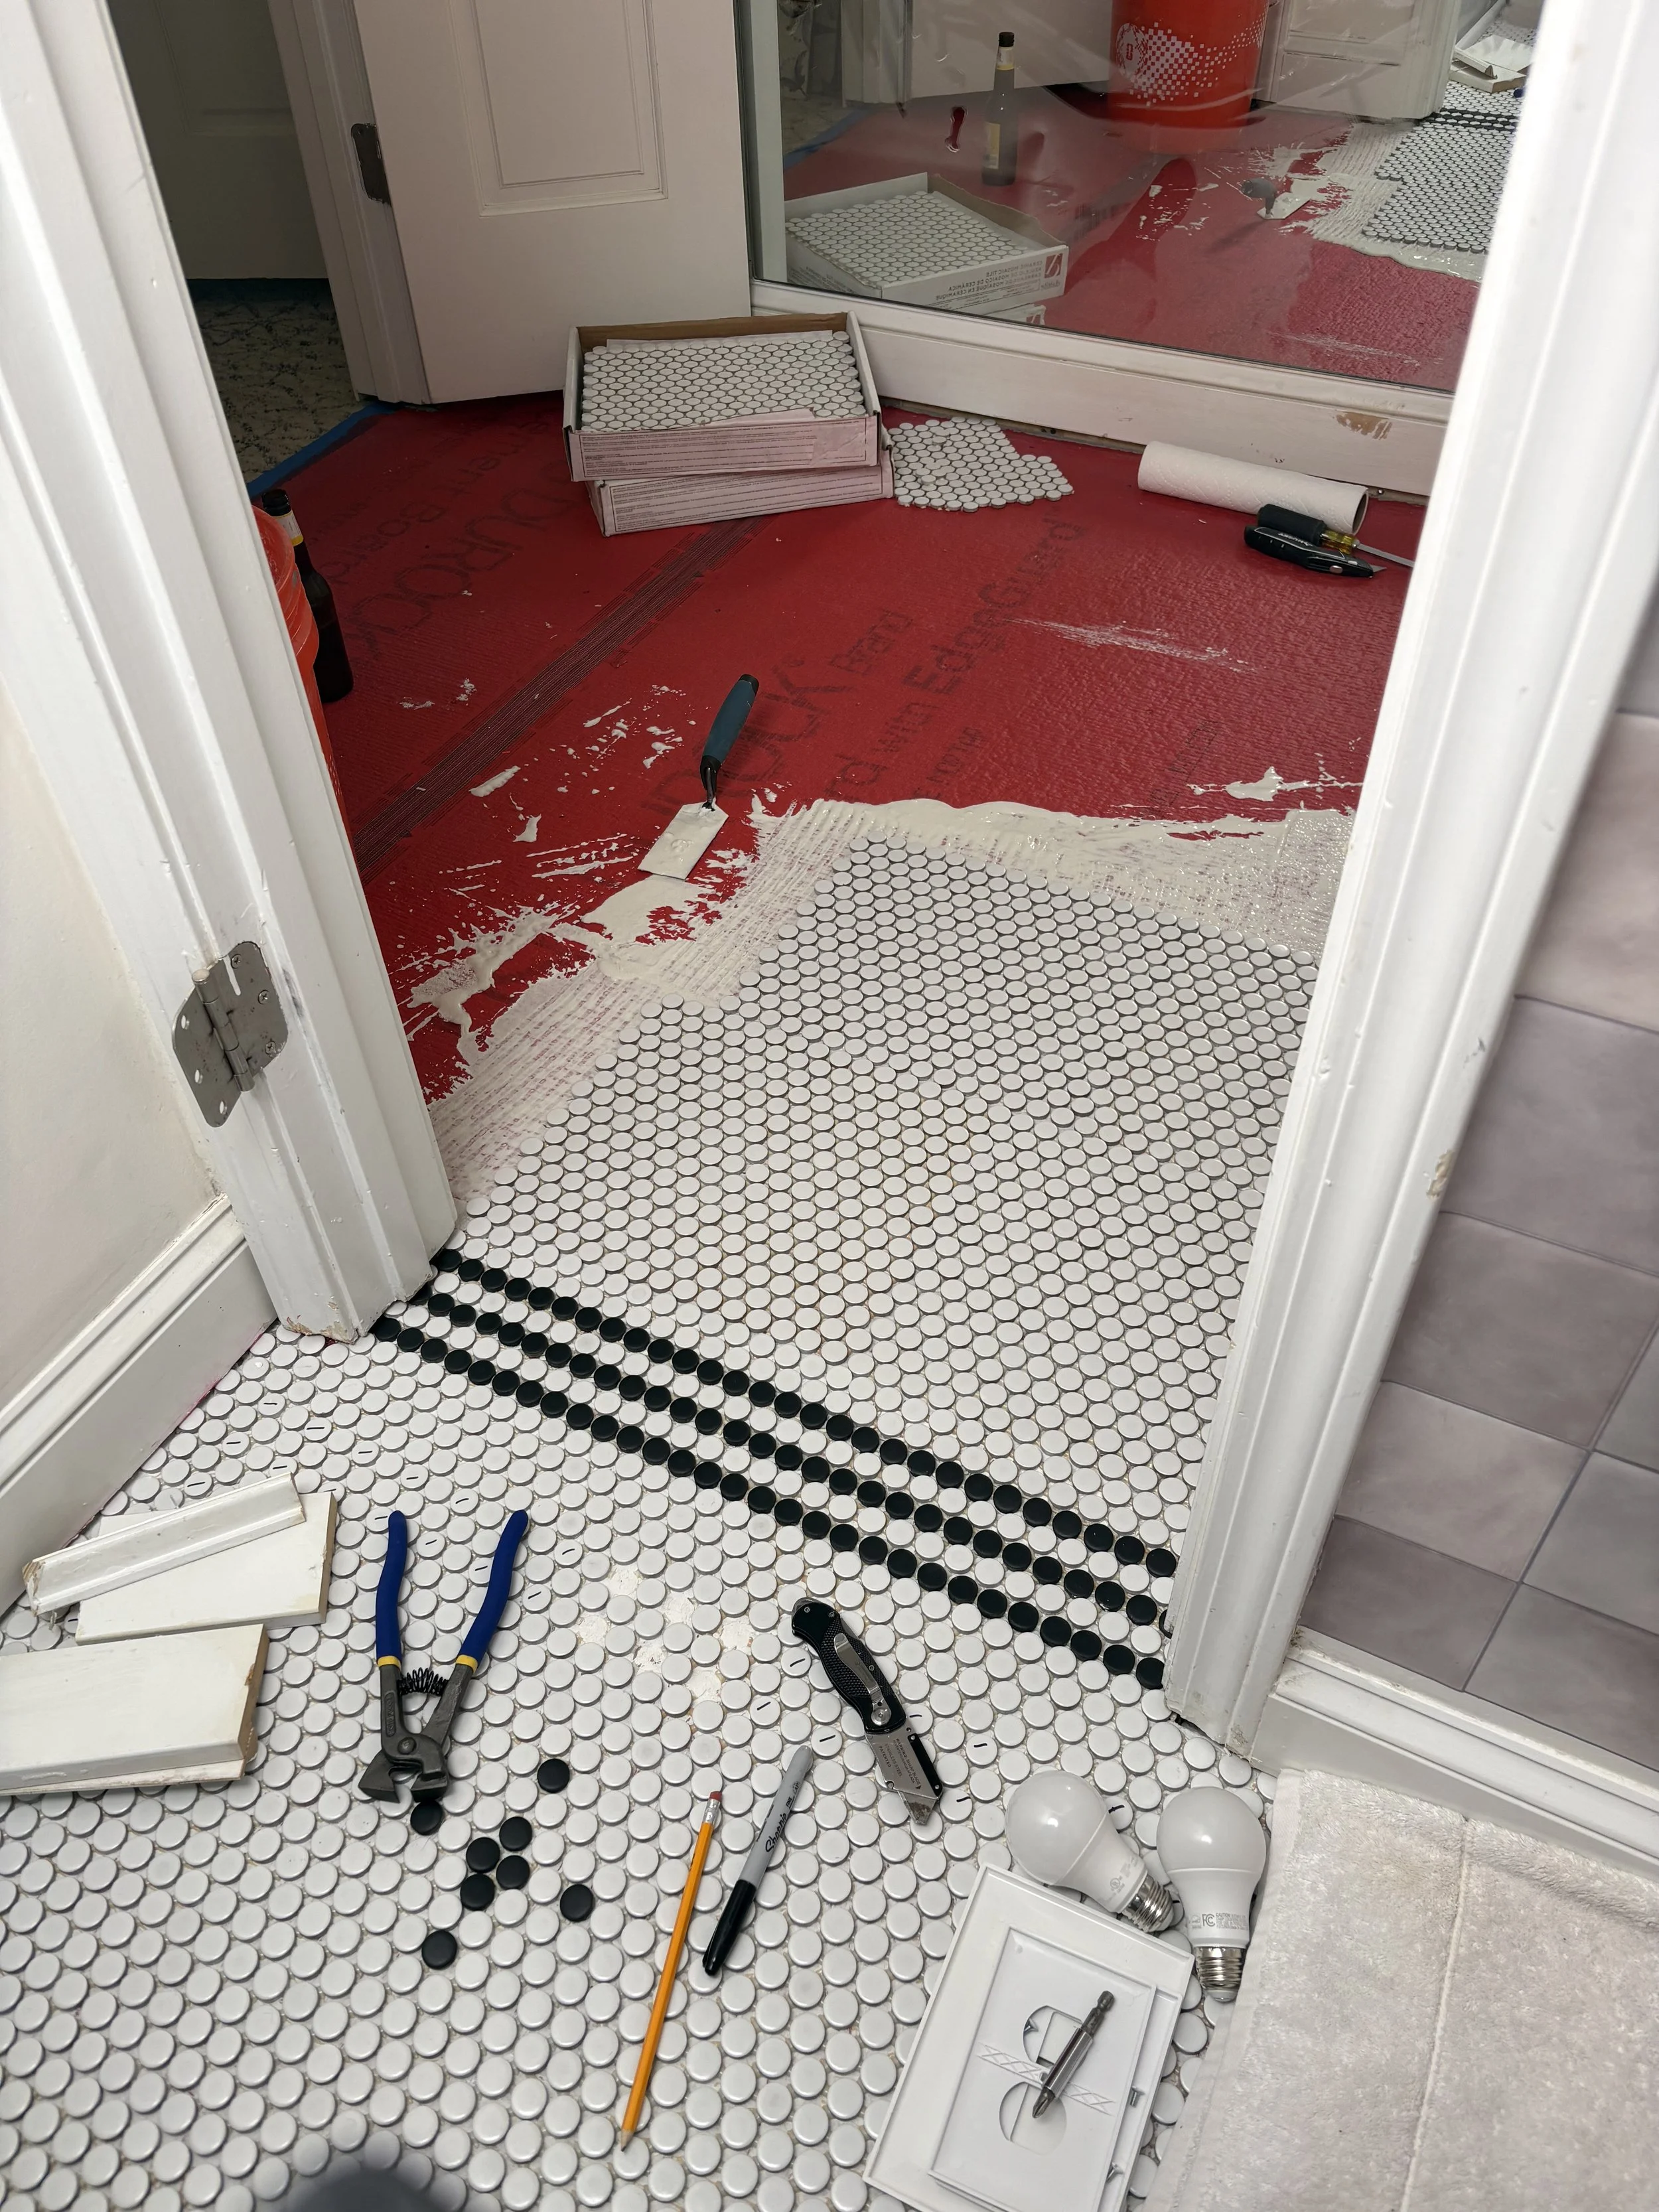
To start, I laid out the white penny tile and then started mapping out the entire design with pencil, followed by sharpie marker when I was ready to commit.
Using black penny tiles against a field of white penny tile, I created a custom floor that proudly spells "DO IT SCARED." It wasn't meant to blend into the background. It was designed to become one of the defining features of the room.
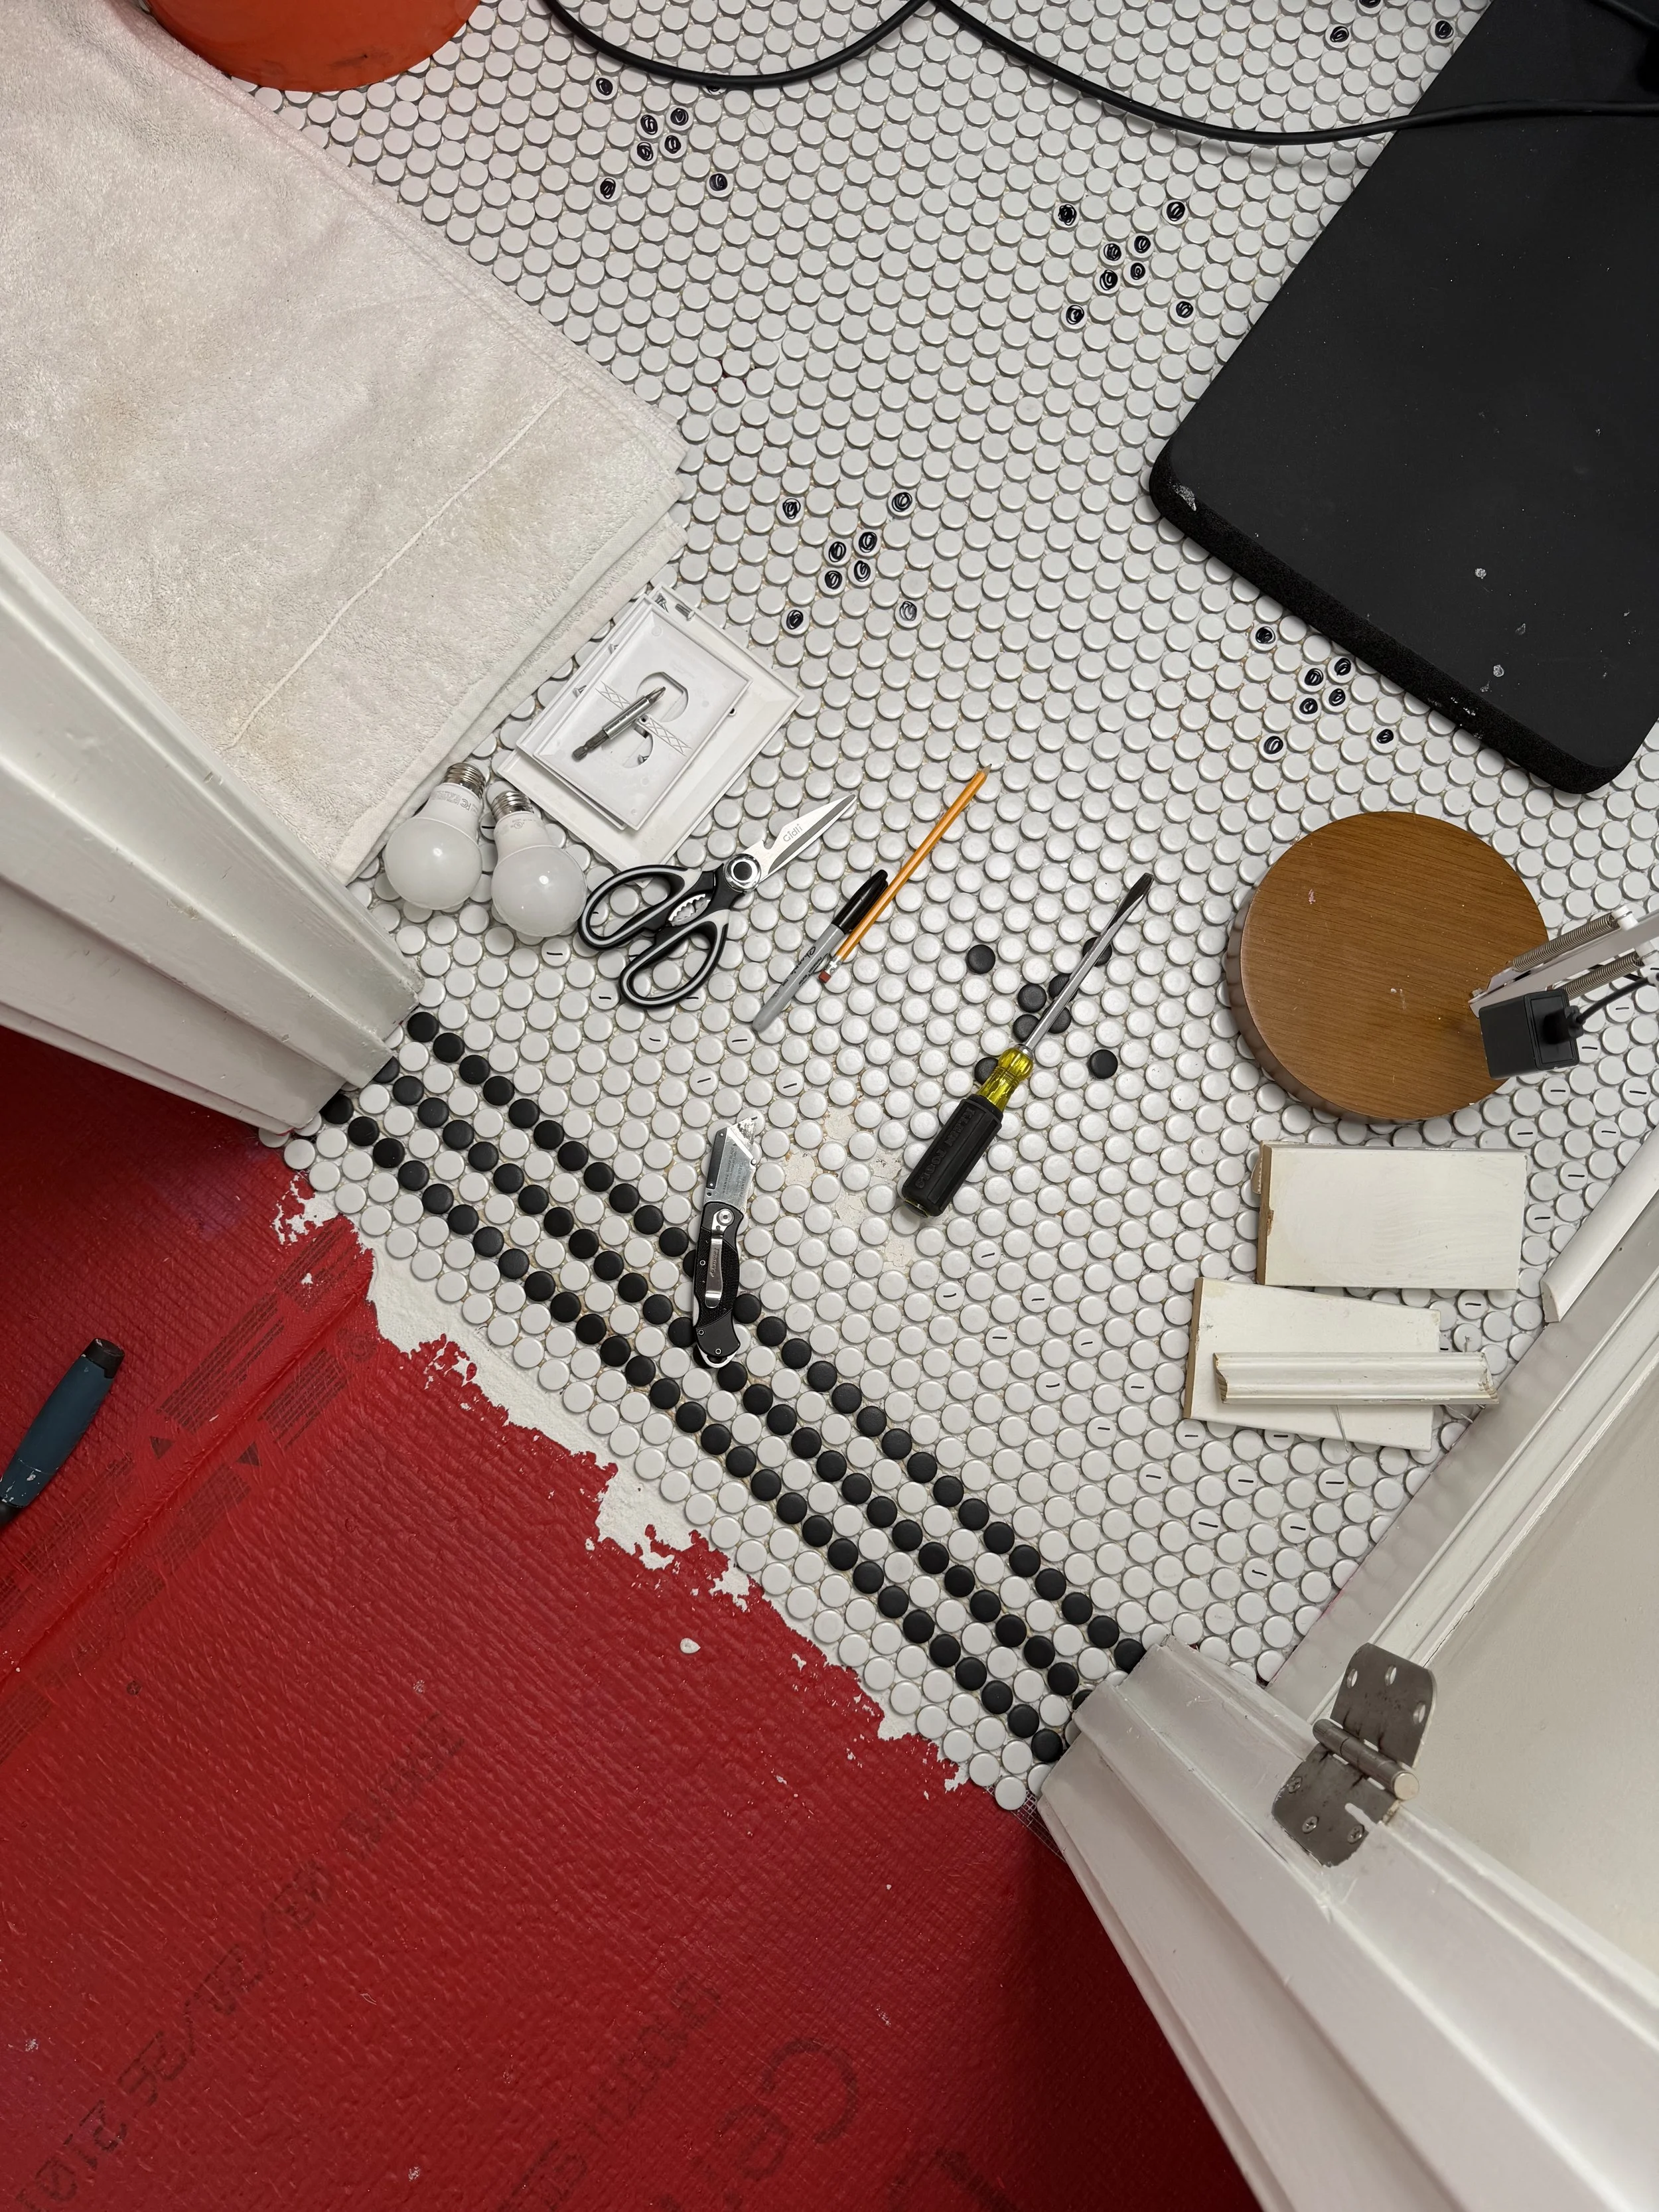
To tie the entire bathroom together, I carried the black penny tile into the adjoining shower room, creating a coordinating floral-inspired pattern within an ornate border that complements the statement floor without competing with it.
That continuity is one of my favorite design decisions in the entire renovation. It makes the two spaces feel intentionally connected while letting each have its own personality.
Installation
Penny tile definitely requires patience, but I found it much more approachable than I expected.
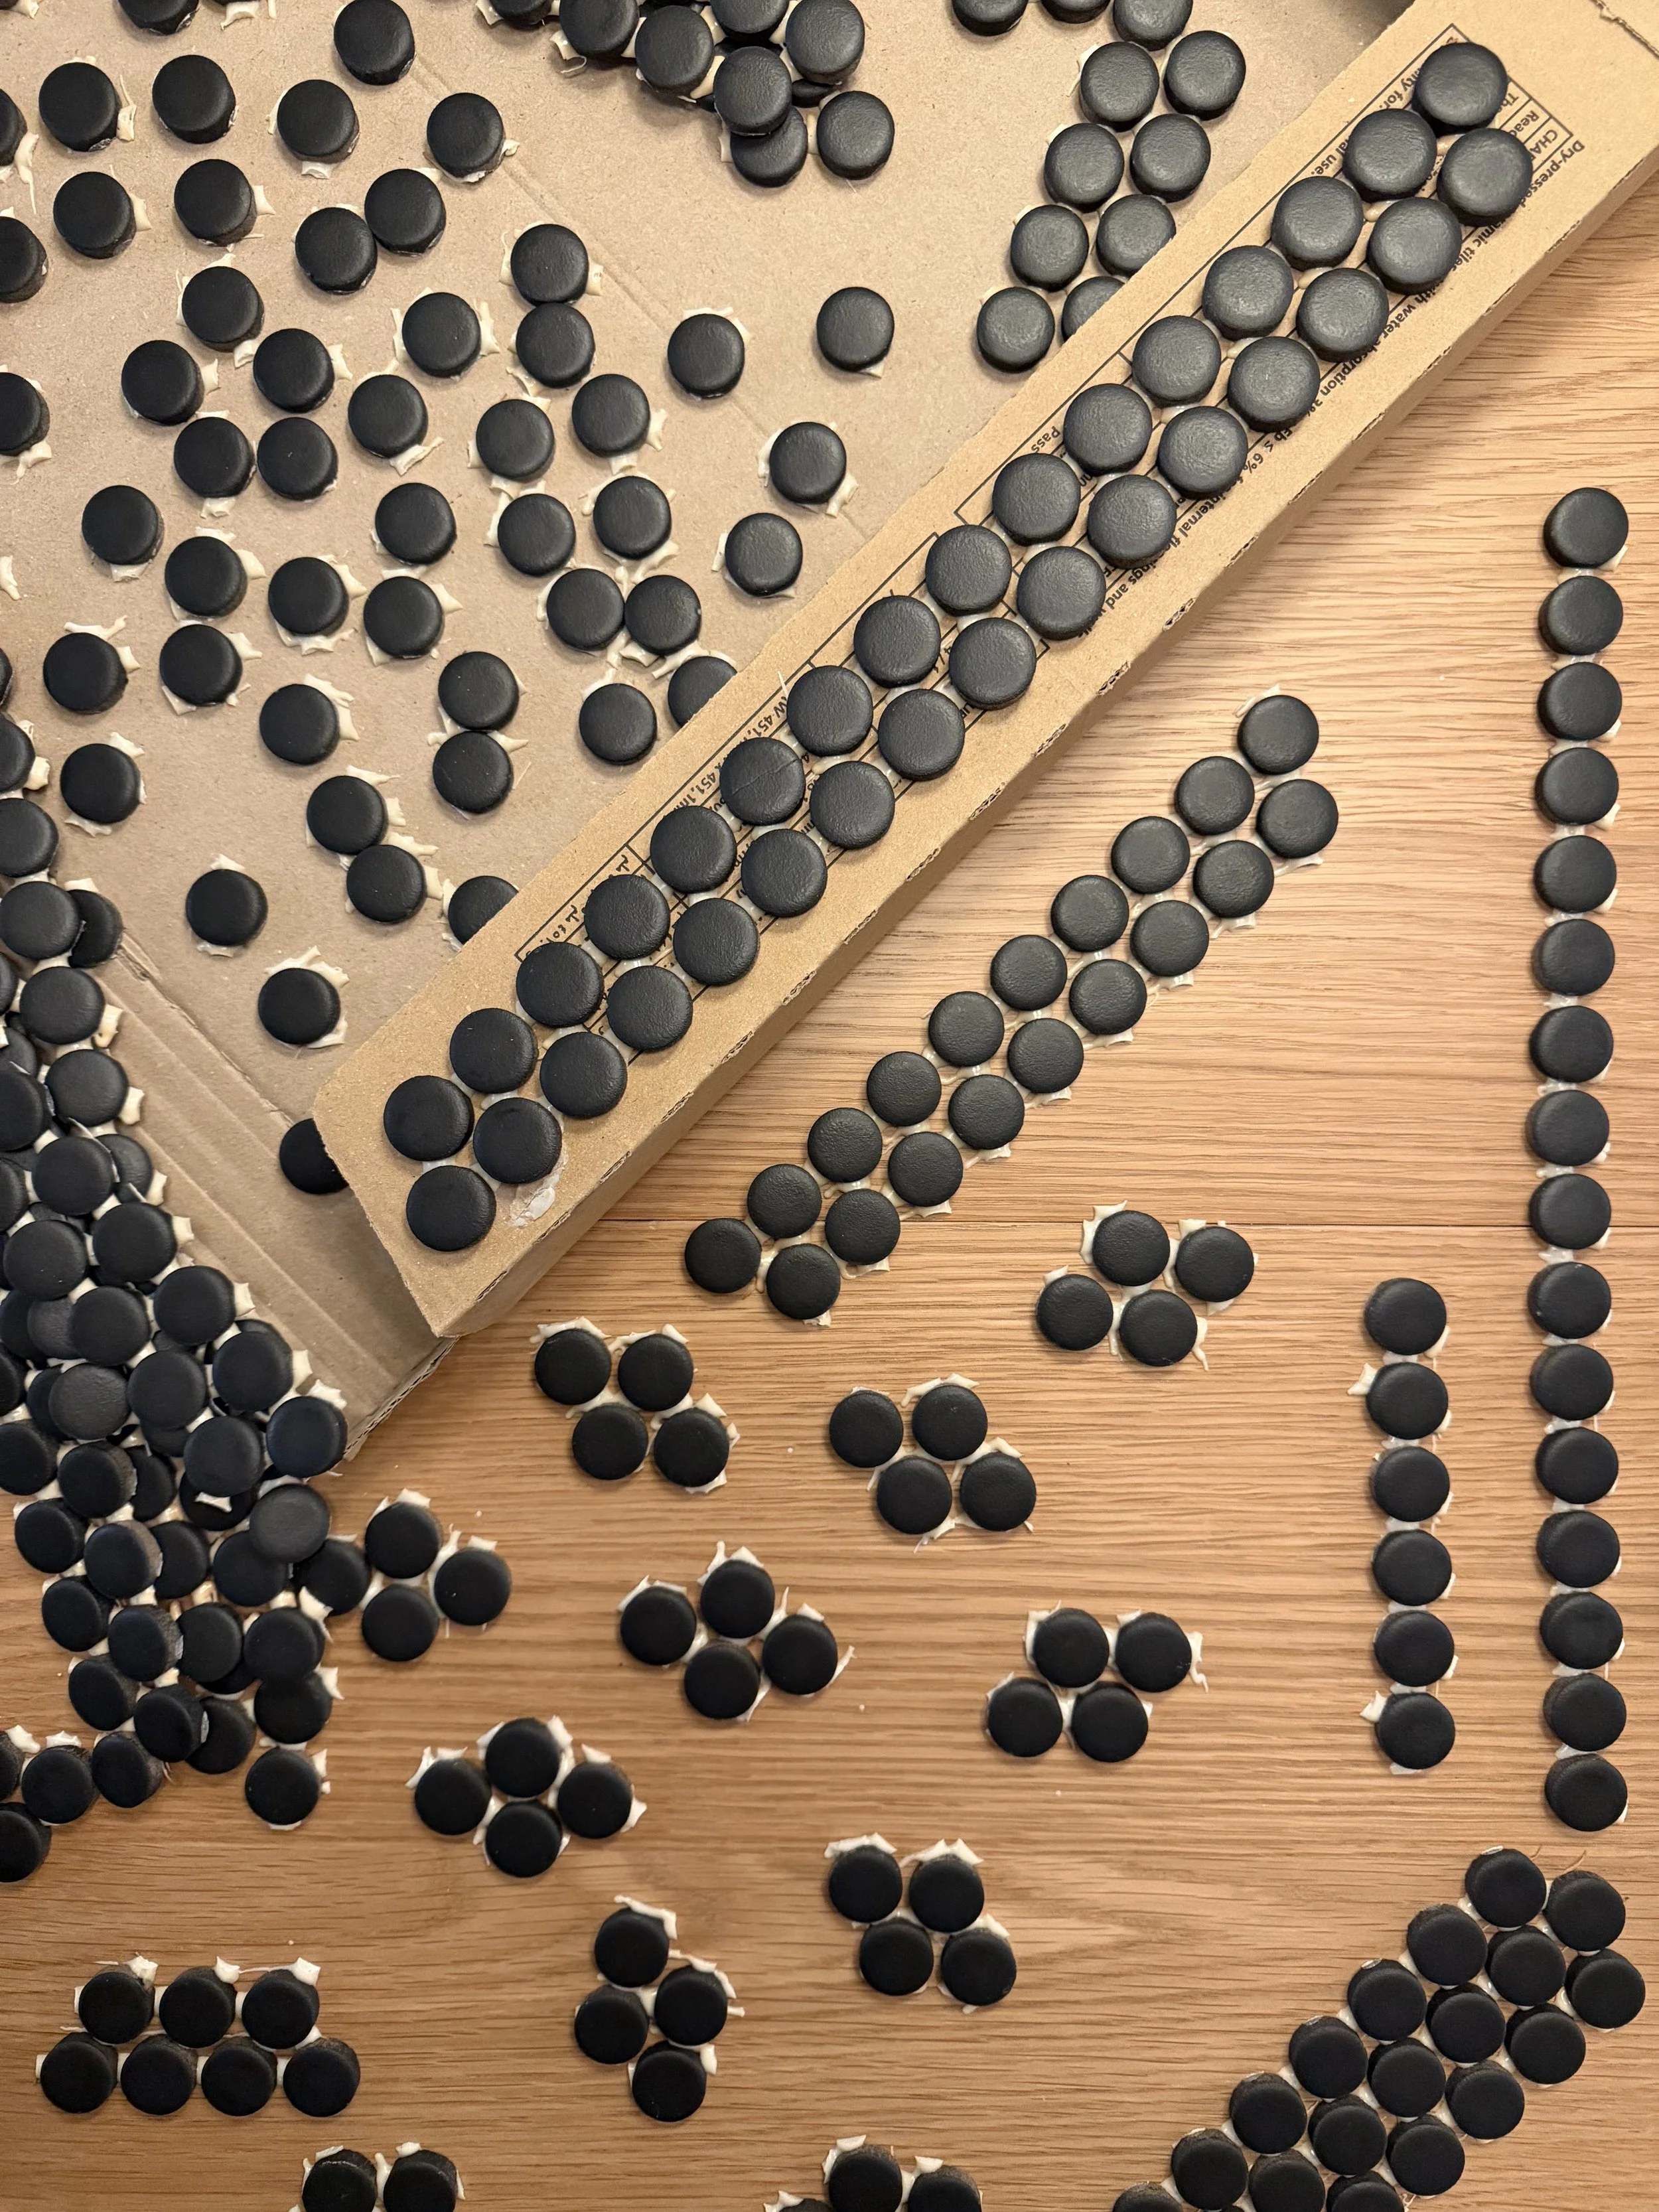
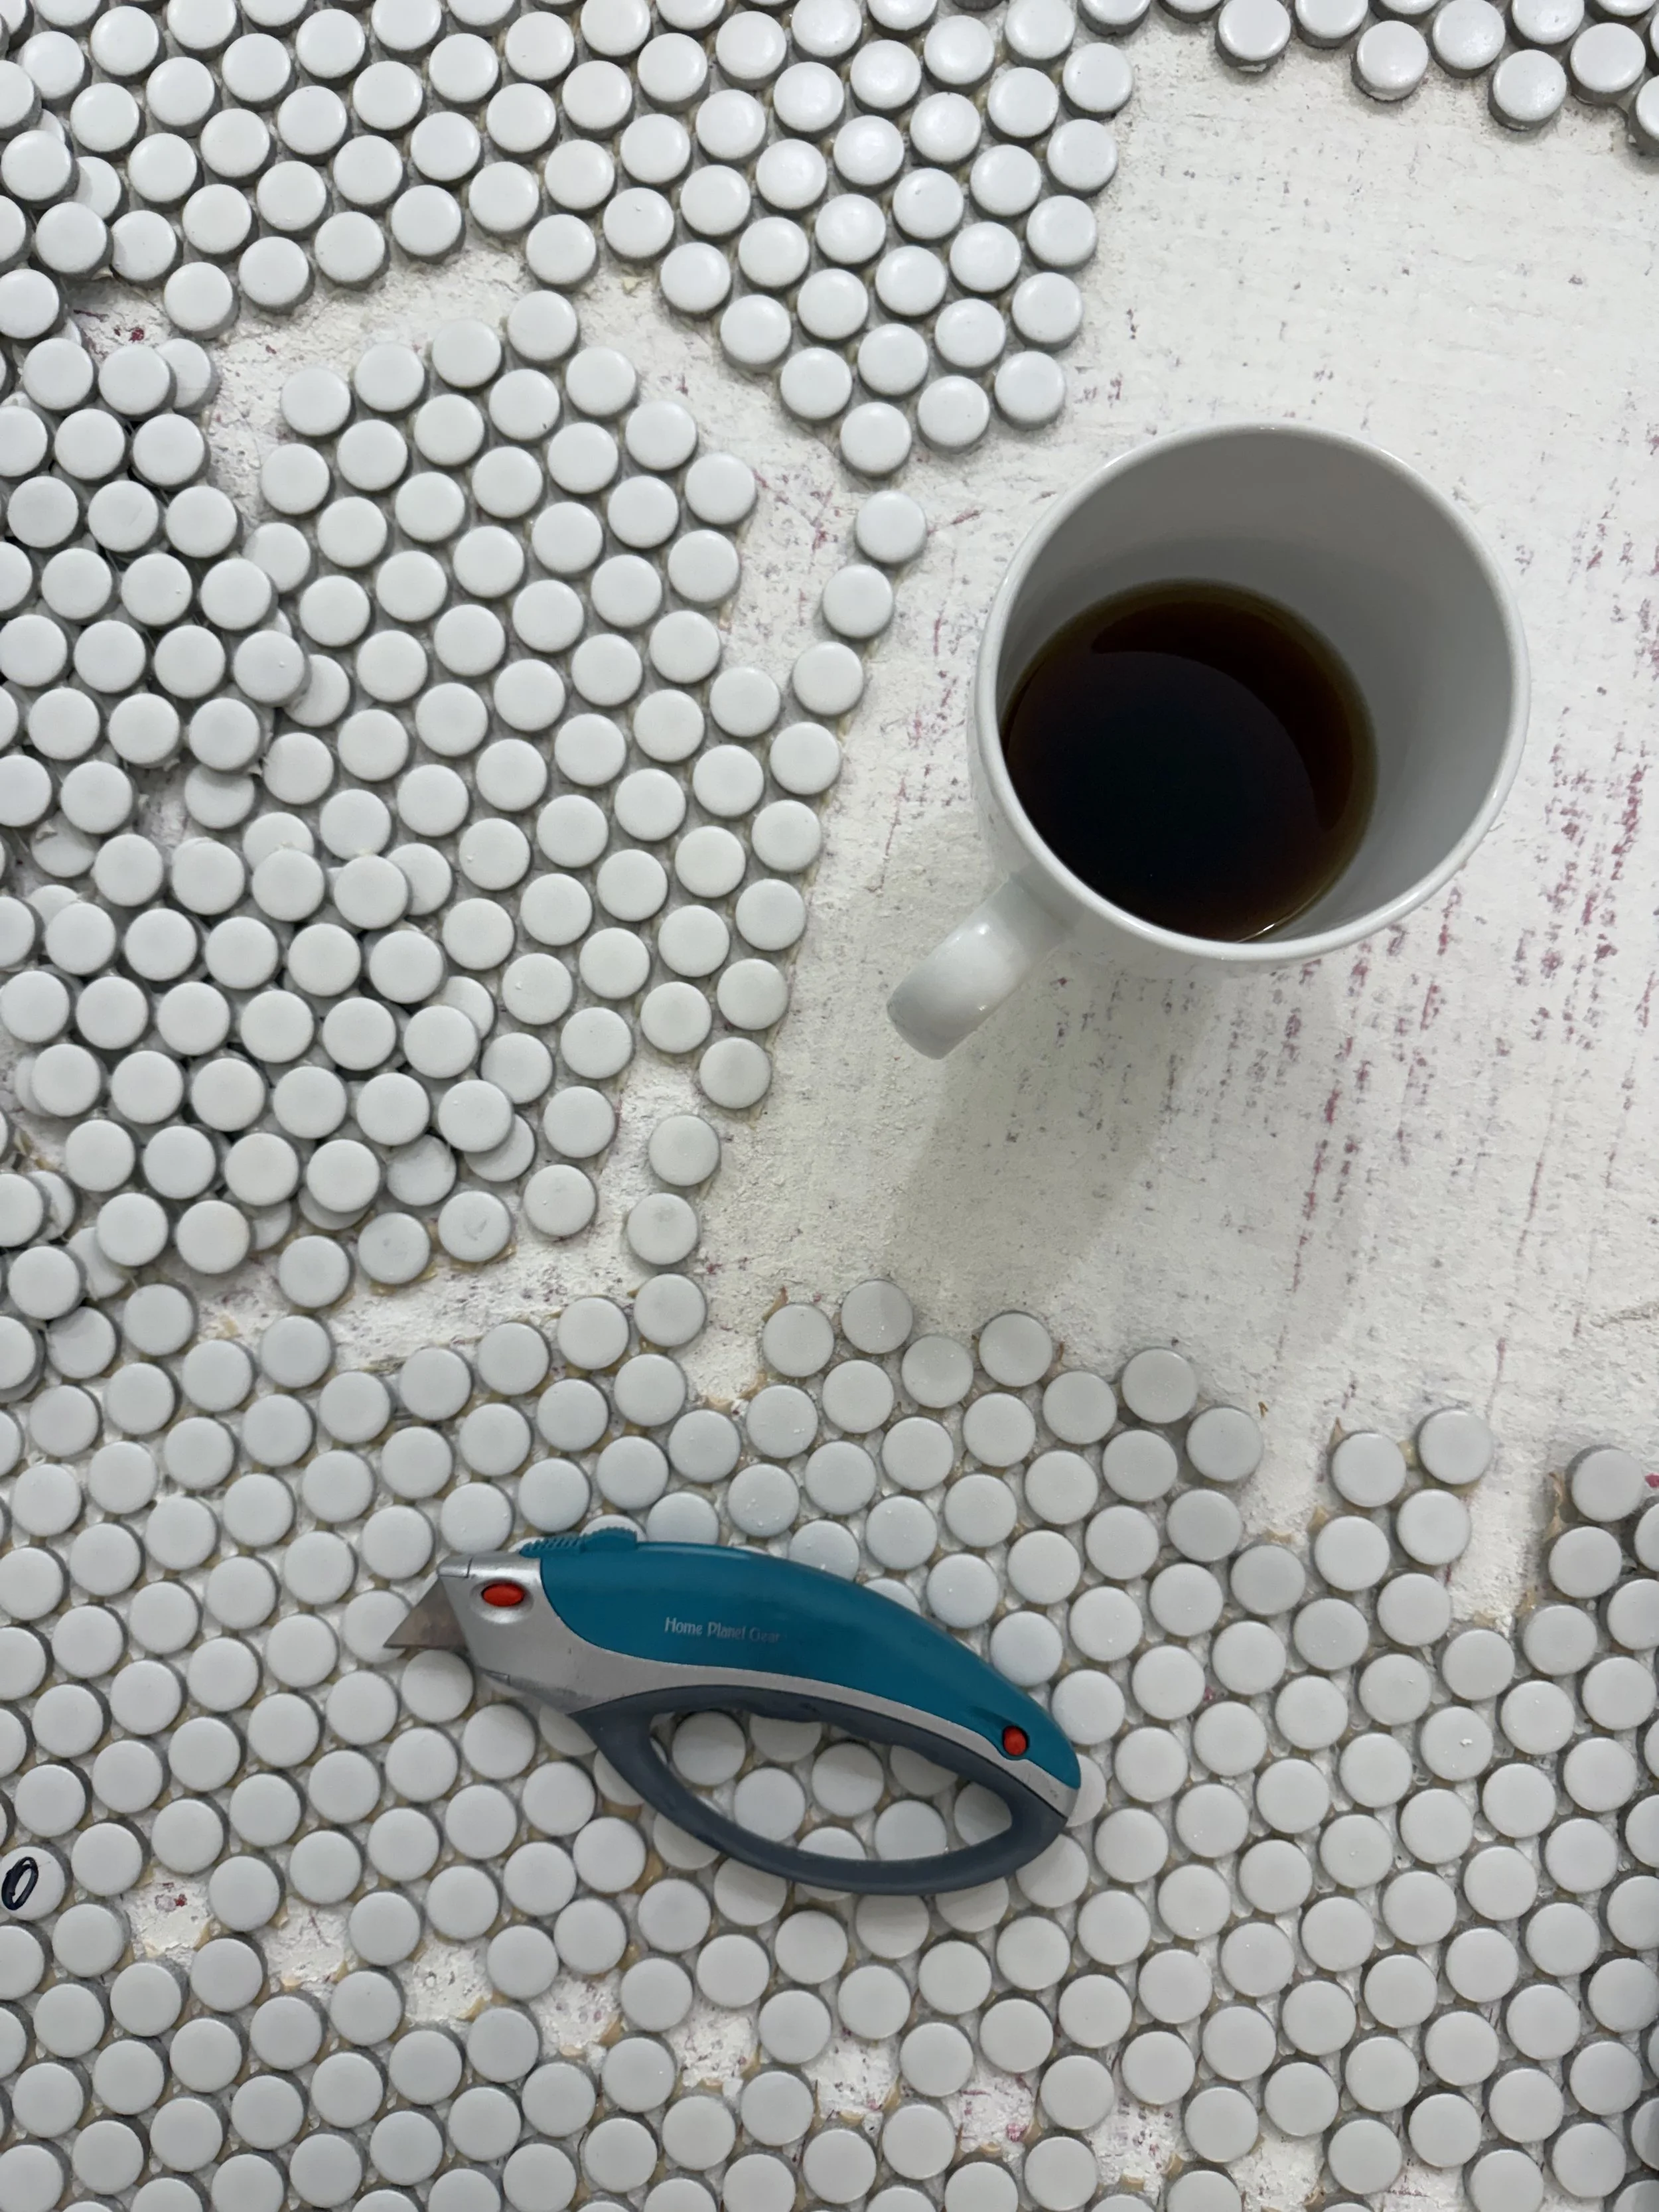
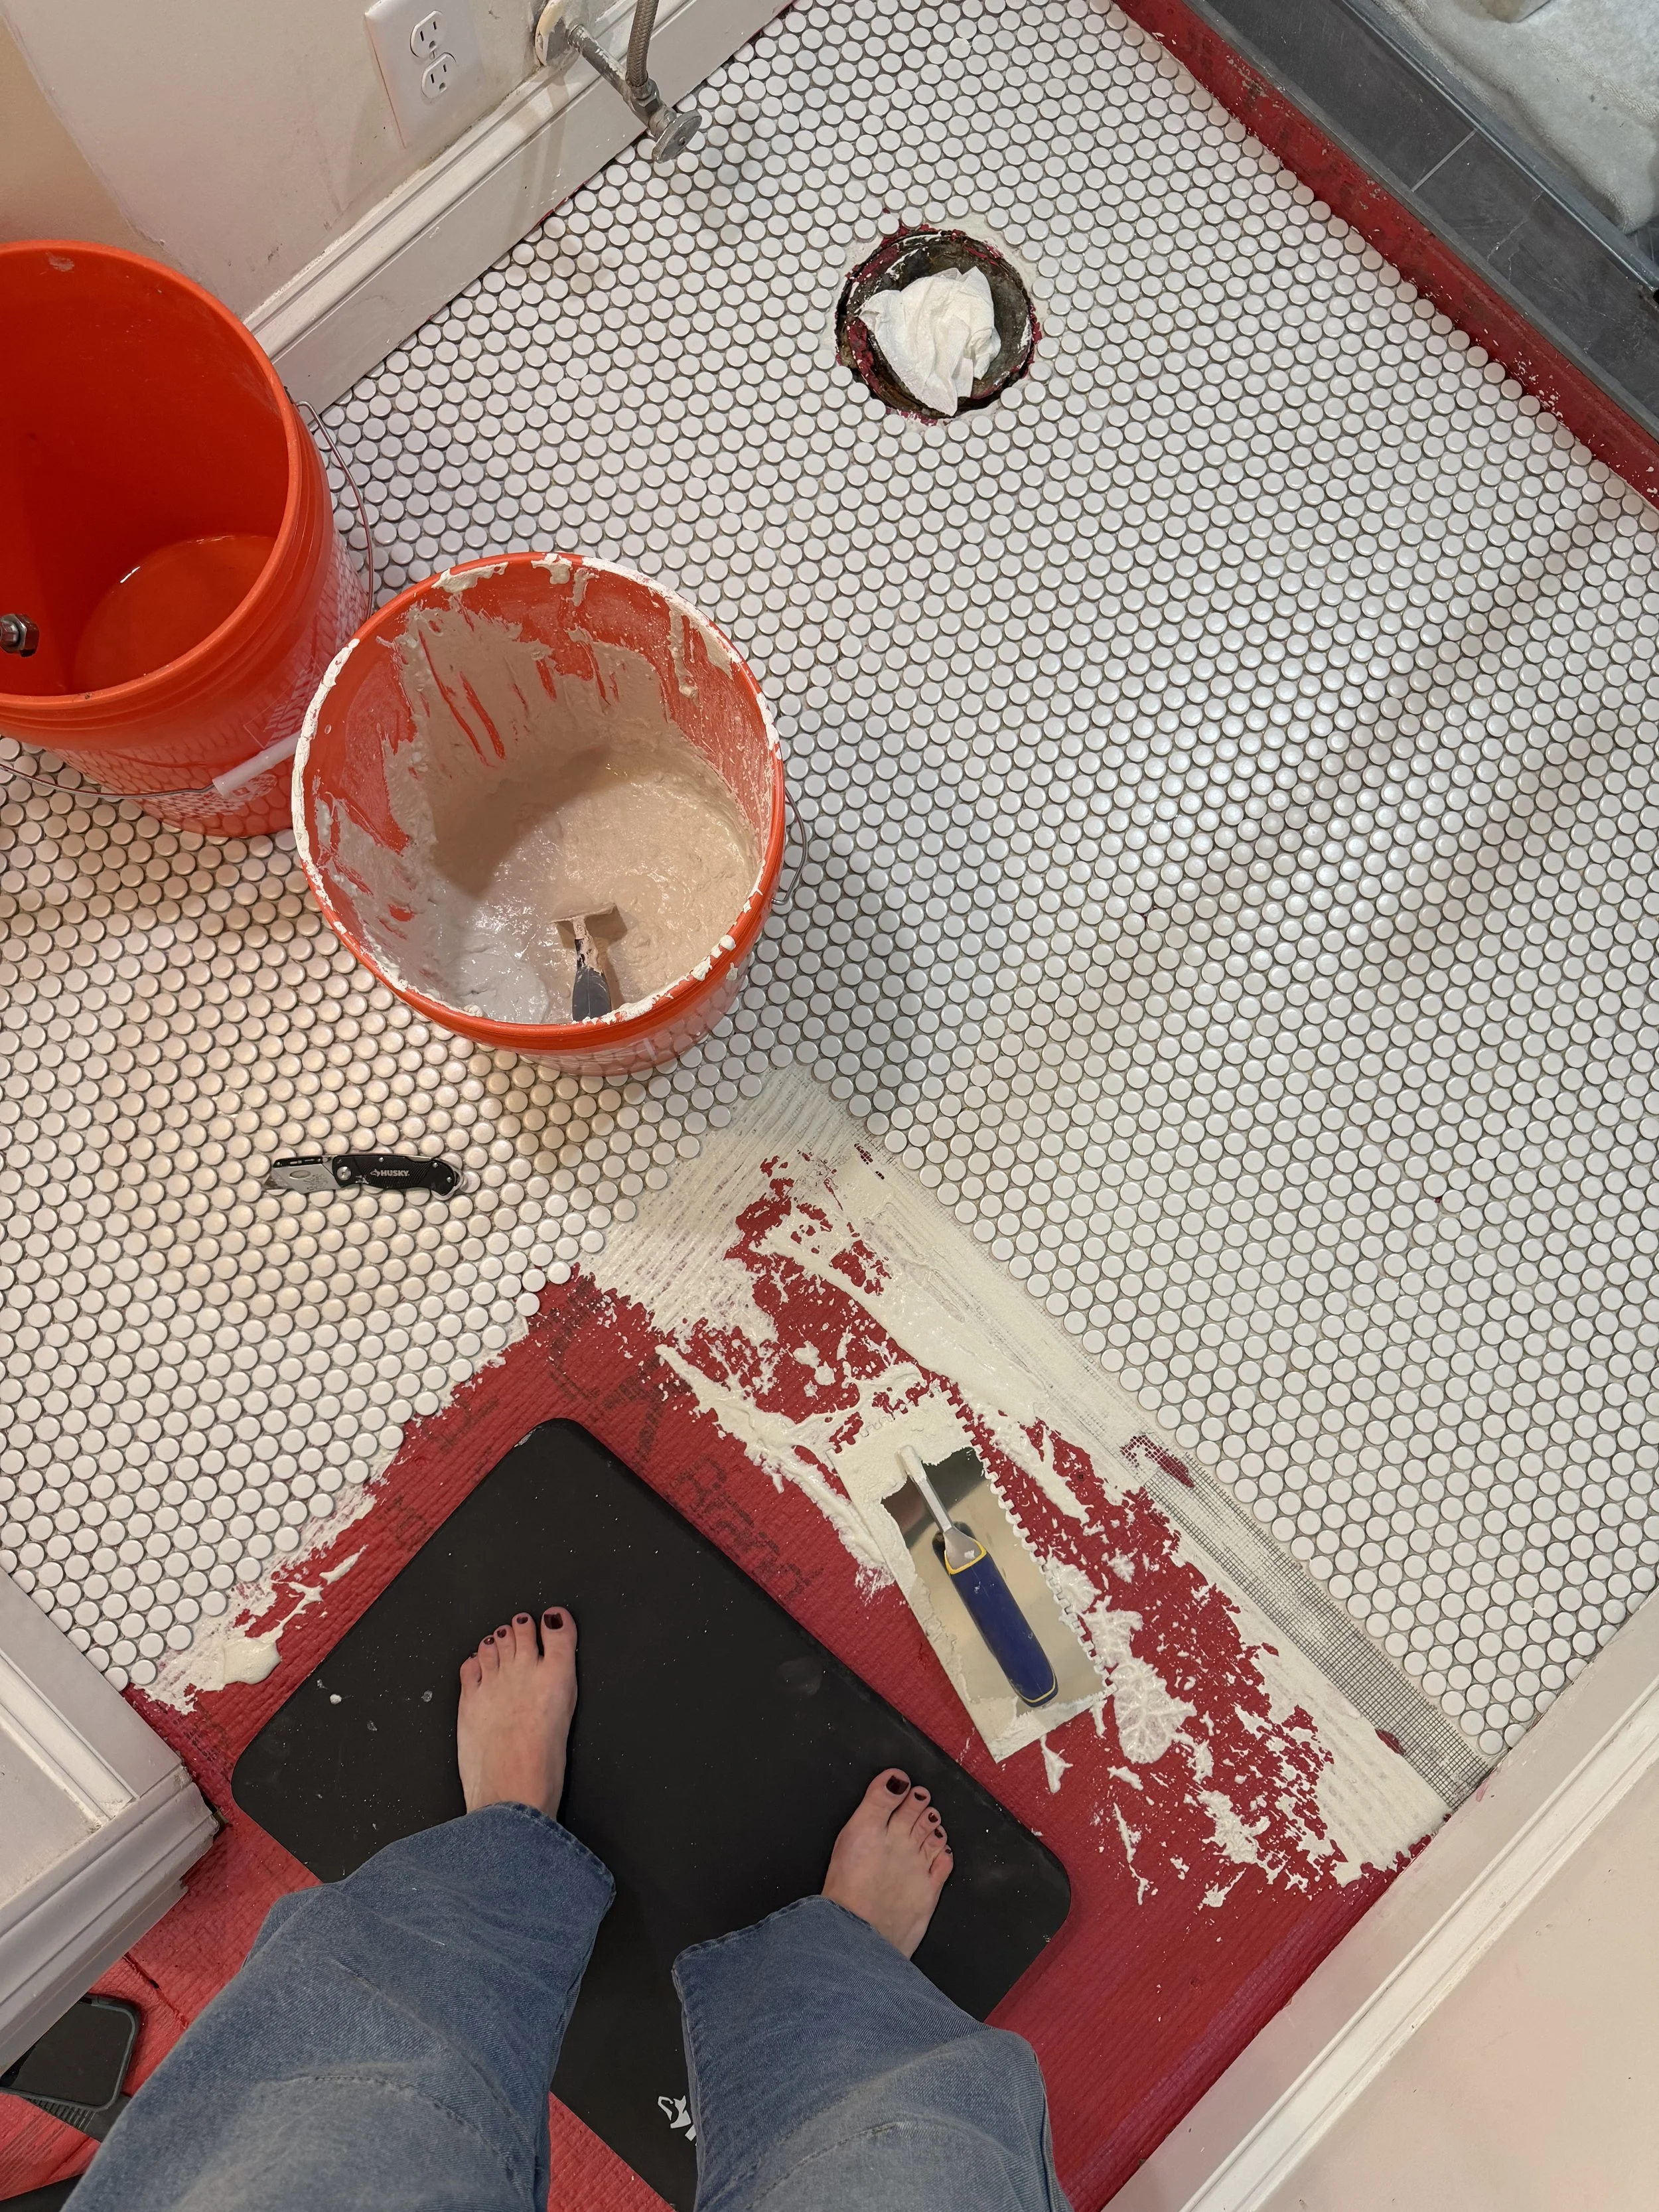
Because the tiles come mounted on mesh sheets, the biggest challenge is making the seams disappear. I spent extra time adjusting individual pennies and cleaning grout joints as I worked so the finished floor looked like one continuous installation instead of individual sheets. Pro tip: fill a syringe with thinset to apply mortar onto smaller accent pieces.
Once everything was installed, I used white grout to keep the floor feeling bright and timeless while allowing the black design to stand out.
After the grout had fully cured, I sealed to help protect it from moisture and everyday life.
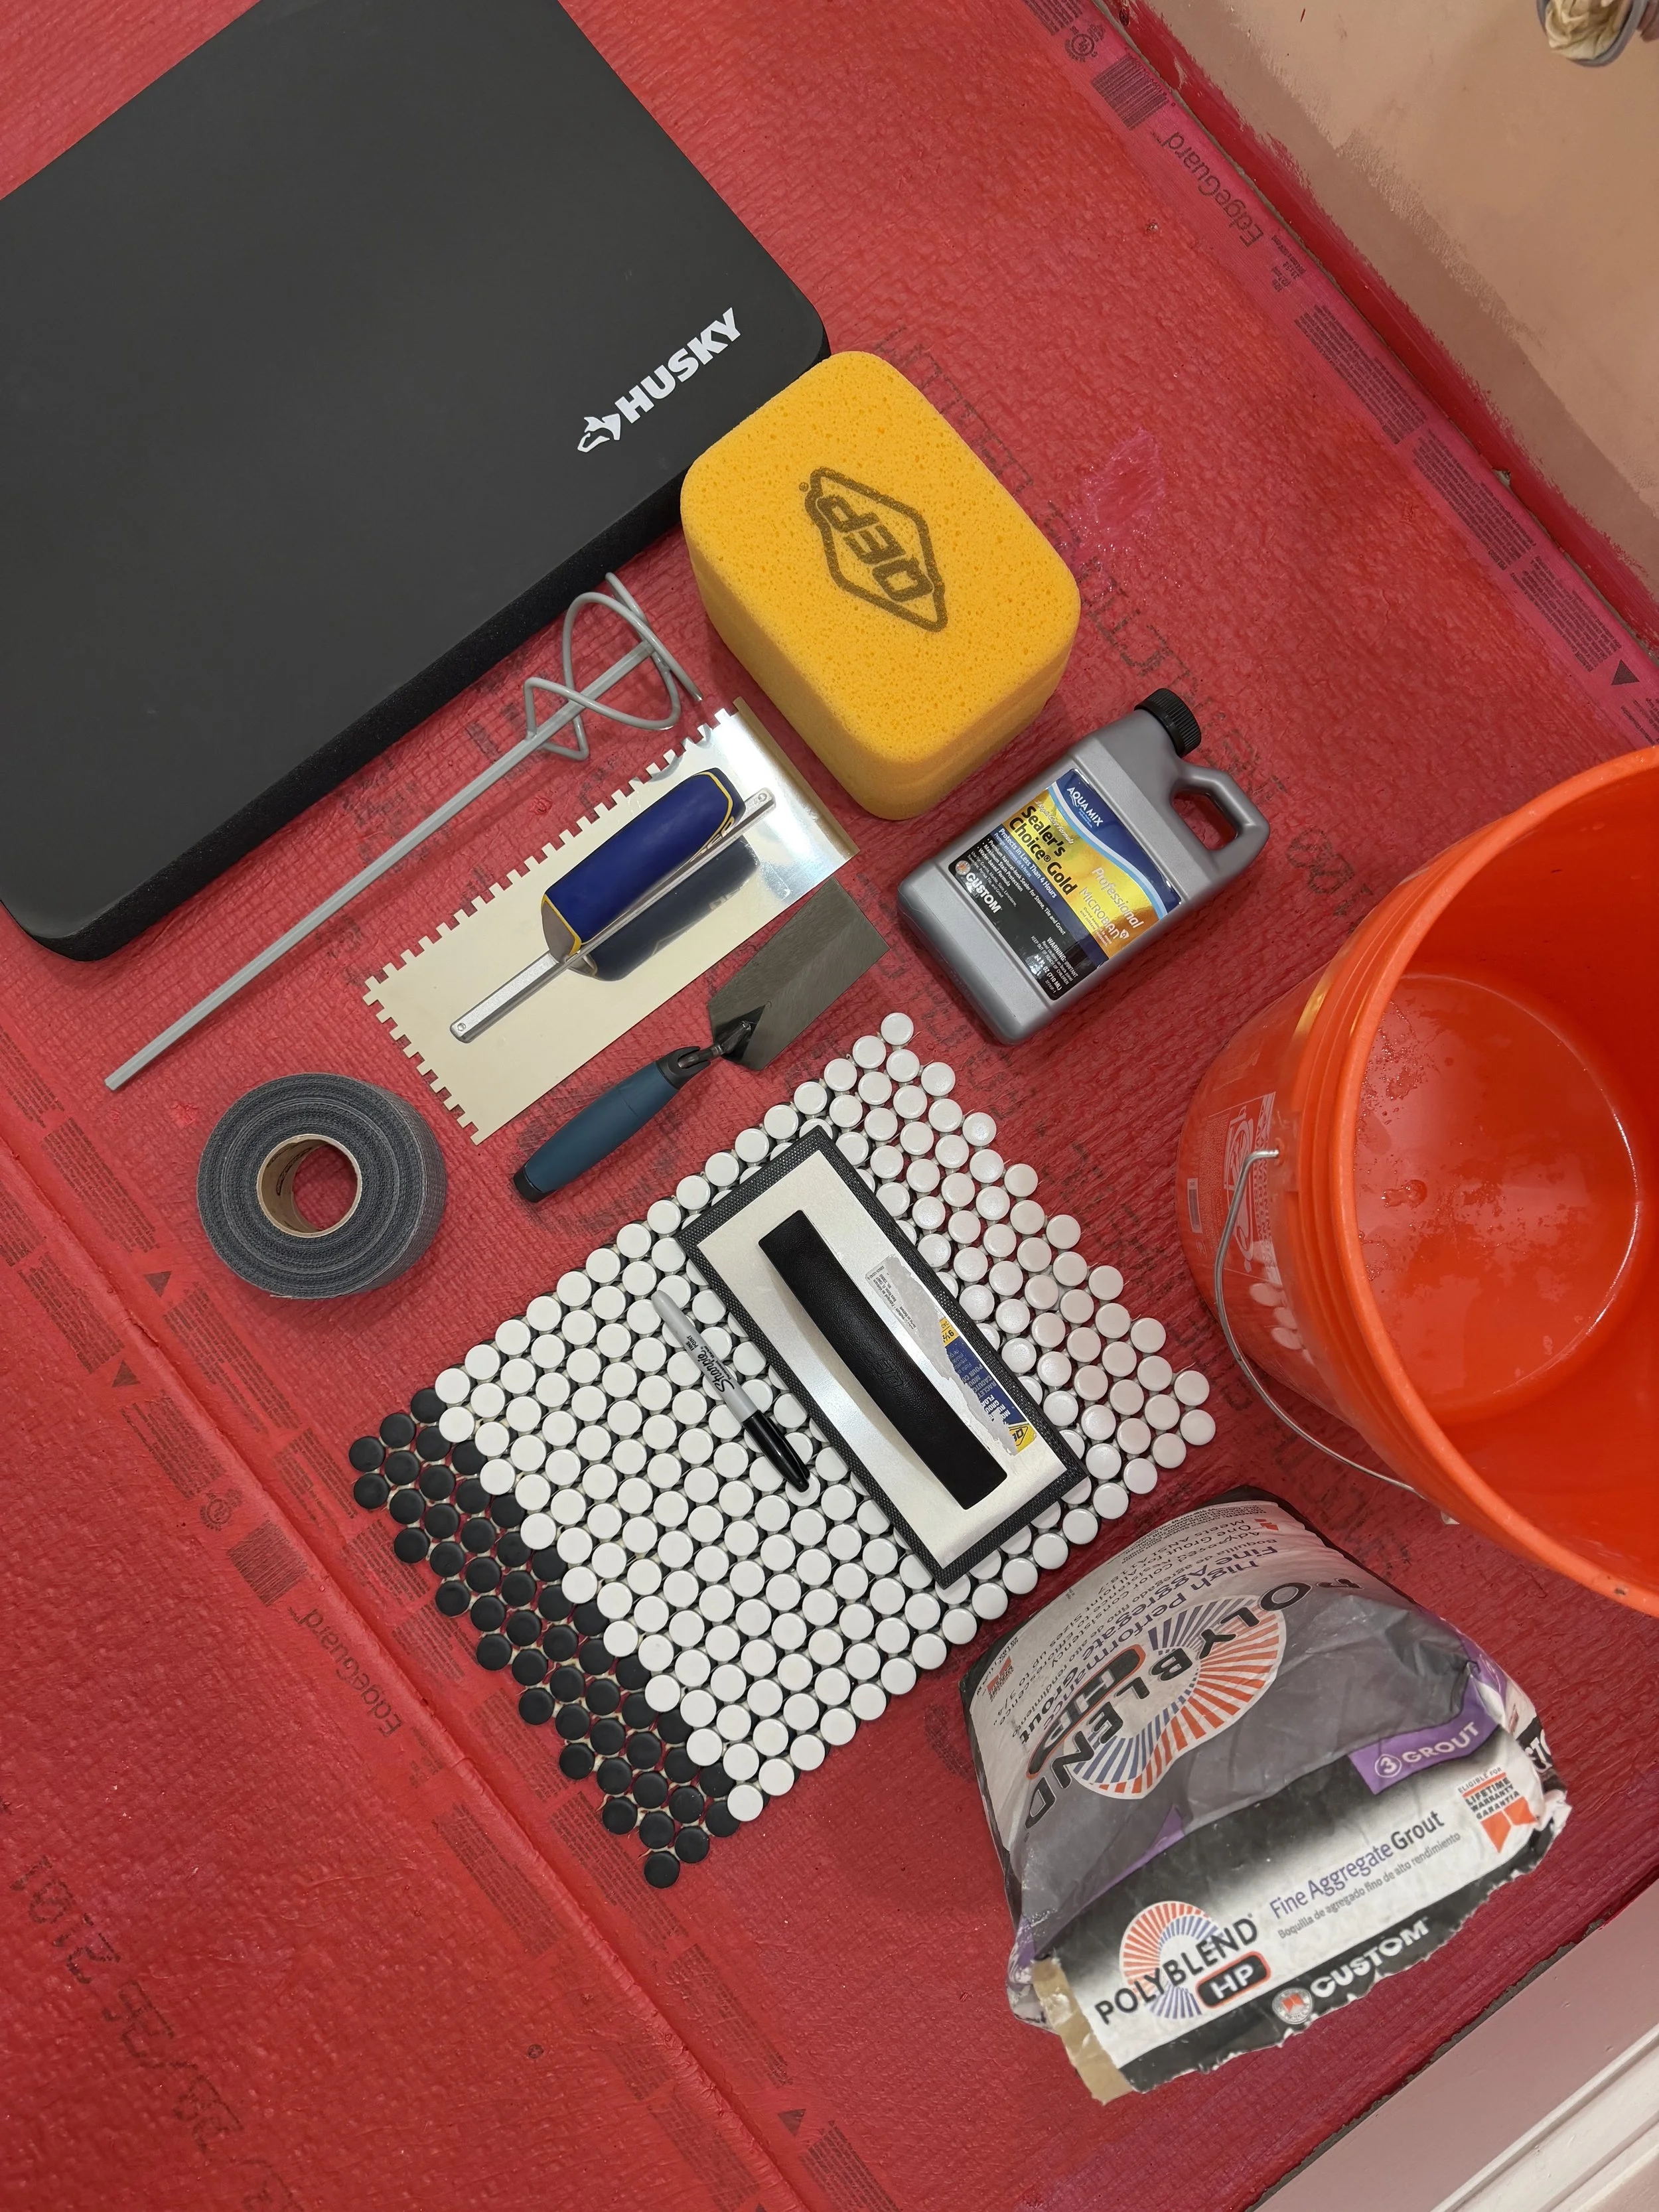
These tools helped me so much!
What Worked for Me
I'm not a professional tile installer. Just a homeowner sharing what worked during my own DIY renovation. Every project is different, so use this as a reference based on my personal experience and always follow the manufacturer's instructions for the products you're using.
*This blog contains affiliate links for products I love and use. I earn a small commission and your support of Eanes Interiors is appreciated.
Supplies I Used
Shop everything here or separately below.
Tile & Setting Materials
Installation Tools
Mixing paddle and drill
Helpful Extras
Soft foam kneeling pad OR knee pads (don't skip these!)
Small pick tool or screwdriver for cleaning grout joints
Optional
Wet saw (depending on your layout)
Sharpie marker and/or pencil (to design layout)
Cement board tape (if you have subfloor joists to address)
My Installation Order
This is the process that worked well for me.
Dry-fit the tile sheets and map out the design.
Mix the thinset.
Spread thinset with a 1/4" square-notch trowel.
Lightly flatten the ridges.
Install the penny tile sheets.
Clean grout joints as you go.
Allow the thinset to cure.
Use X-Acto knife to cut out accent pieces.
Apply accent penny tiles with thinset. A syringe is helpful!
Grout the floor.
Buff away the grout haze.
Seal the grout after it has fully cured.
A Few Things I'd Do Again
🤍 White penny tile + white grout will always be a classic.
If I were doing another penny tile floor tomorrow, these are the things I'd repeat:
Adjust individual pennies so the sheet seams disappear.
Clean grout joints while you work to save time
Use very little water during grout cleanup. A barely damp sponge helps keep white grout looking bright.
Take your time. Penny tile rewards patience.
Lesson Learned
If I could give my past self one piece of advice, it would be this: spend twice as much time on the layout as you think you need and dry set the design first. Penny tile isn't difficult, but the little details are what separate a good installation from a great one.
My Timeline
Every project is different, but this schedule worked well for me as a weekend warrior DIY’er.
Saturday: Install the tile
Sunday: Let the thinset cure completely.
Next Saturday: Grout.
Next Sunday: Light foot traffic if necessary.
Following Weekend: Seal the grout.
Sealing the Grout
After my grout had cured for about 72 hours, I applied a penetrating grout sealer.
Because penny tile has so many grout lines, I found a sponge brush to be the easiest way to apply it.
Here's what worked for me:
Make sure the floor is completely clean and dry.
Apply a thin, even coat.
Let it sit for a few minutes (following the manufacturer's directions).
Buff away any excess with a clean microfiber cloth.
I applied two light coats for extra protection.
Avoid water and heavy traffic for about 24 hours afterward.
Would I Do It Again?
Without question.
This isn't just my favorite floor in our home.
It's one of my favorite projects I’ve ever completed.
Not because it's complicated.
Not because it's trendy.
Because every time I walk into this bathroom, I'm reminded why we started.
The words "DO IT SCARED" aren't just a design feature. They're a daily reminder that some of the best things happen when you stop waiting until you feel ready.
